Maximize Your Firepower: A Guide to Defusing the Megabomb in Call of Duty: Warzone!
In the zombie-infested trenches of Call of Duty: Warzone, survival relies on quick thinking, strategic adaptability, and maximizing your firepower.
In the “Most Firepower” mission, the stakes reach explosive heights – literally.
Facing the colossal threat of a ticking megabomb, you’ll need to unleash everything you’ve got, including harnessing the raw power of a Level 3 Pack-a-Punch weapon.
In this guide, you’ll learn the essential tips and strategies to conquer the undead hordes and kill the megabomb efficiently in call of duty warzone.
Prepping for Battle:
Before diving into the chaos, make sure you’re fully equipped for the challenges ahead:
Weapon Choice:
Choose a weapon that combines comfort and precision, such as assault rifles like the XM4 or AK-47, or tactical rifles like the M16.
Pack-a-Punch Priority:
Swiftly upgrade your primary weapon to Level 3 Pack-a-Punch. This powerhouse delivers significant damage against both zombies and the megabomb.
Field Upgrades:
Stock up on Field Upgrades to enhance your damage and survivability. Consider options like Incinerator Canisters, Energy Drinks, or Battle Hardened.
Perks:
Prioritize Perks that boost offense and defense, like Double Tap for faster fire rate, Speed Cola for quicker reloads, and Deadshot Dealer for headshot precision.
Mastering the Pack-a-Punch:
Reaching Level 3 Pack-a-Punch is a game-changer. Follow a strategic approach:
Early Rounds:
Upgrade your weapon progressively – Pack-a-Punch once in Round 1, twice in Round 2, and aim for Level 3 by Round 4.
Crystal Management:
Be mindful of crystal usage. Focus on weapon upgrades and Field Upgrades before securing Level 3 Pack-a-Punch.
Bonus Crystals:
Search for hidden caches with valuable crystal boosts. Keep an eye out for yellow crates on roofs and tucked-away corners.
Defusing the Detonation:
With your Level 3 weapon ready, face the heart of the mission:
Crowd Control:
Clear smaller zombie waves first to avoid being overwhelmed. Use Field Upgrades and Perks strategically to manage the horde.
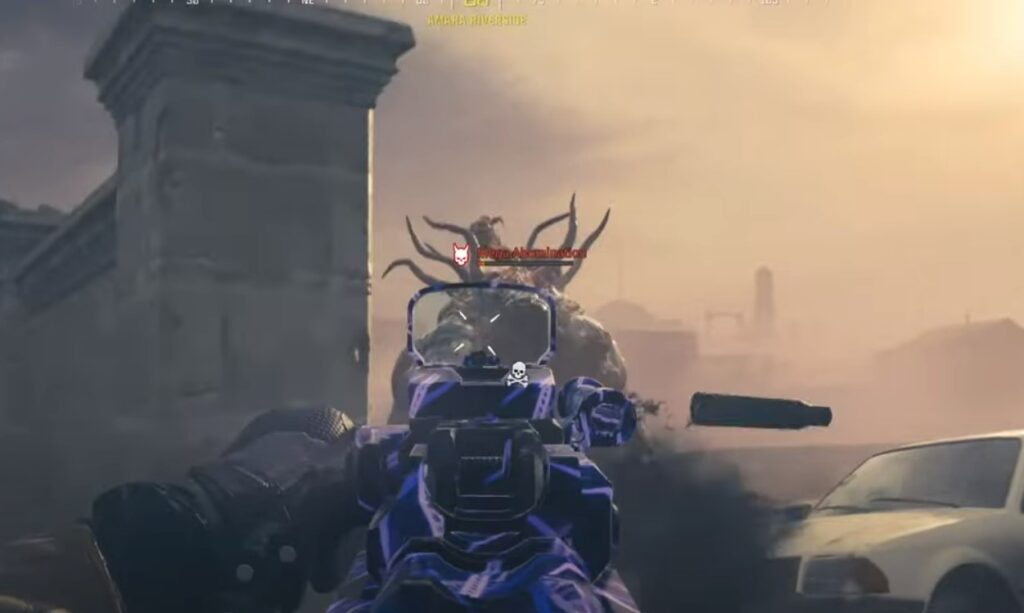
Precision Strikes:
Aim for the megabomb’s glowing red core. Each accurate hit counts down the detonation timer. Precision is crucial for saving precious seconds.
Cover & Movement:
Stay mobile and utilize cover to avoid becoming an easy target. Constantly dodge and weave while chipping away at the bomb’s timer.
Teamwork:
Coordinate efforts if playing with friends. Assign roles, cover each other, and communicate effectively during the intense battle.
Bonus Tips for Triumph:
Armor Plates:
Don’t underestimate the importance of armor plates. They prolong your survival, providing more time to defuse the bomb.
Legendary Weapon Option:
Consider switching to a Legendary weapon if found during the mission. Its bonus stats might give you the edge needed for success.
Don’t Fear Failure:
Perfection comes with practice. Learn from mistakes, refine your strategy, and approach each attempt with improved tactics.
Armed with a well-prepared arsenal, a tactical mindset, and steady aim, you can unleash the full potential of your Level 3 Pack-a-Punch weapon. Become the hero Caldera needs by defusing the megabomb with focus, mobility, and the power of teamwork. Charge forth, soldier, and claim victory like the champion you are!
Also Read:
- Amazon vs Flipkart vs Google Pay: Which Shopping App Game Actually Pays the Most in 2026?
- How to Claim ₹100 Free Swiggy Cash with the CashLoot Game
- How to Claim Your Free Trial of Johnson & Johnson ACUVUE Contact Lenses
- Dainik Bhaskar Jeeto 16 Crore 2026: Master Coupons & QR Scan Guide
- Blox Fruits Codes for June 2026: All Working Codes & How to Claim Them